Tutorial – Consistent characters
One of the challenges using AI professionally or commercially is generating a consistent character. MidJourney has some tricks to help automate that, but then you’re locked in to MidJourney, and you don’t have control over all the parameters. We’re using Stable Diffusion- it gives us a lot more control, and once we get it set up the way we want it, can massively speedup professional workflows by letting you tune the model to exactly what you need – in this case, a character with the same face and body whether they are running through the surf on a beach in a romantic scene or hanging upside-down from a rope in a heist scene or slugging it out for the tenth round in a boxing / sport scene.
I was originally going to write this whole process as one tutorial, but it got very long and very heavy almost immediately. So, I’ve broken it up a little.
At a high level, our workflow is going to be the following:
1 – Get 20+ headshots of our character (this tutorial)
2 – Train a model to produce just that character (next tutorial)
3 – Pose that model the way we want them to be posed (third tutorial)
Ready? Let’s begin!
In order to train SD later, we need to start with at least 20 images of the person we’re aiming for, from different angles and wearing different outfits in different lighting. This will let SD know that we’re interested in the character, not the clothing, lighting, outfits, etc. There’s some flexibility in this, but more variety is generally better if you’re starting with the same person.
Here, already, we run into our first problem. How do you get varied pictures of a fake person the all of the above variations before you’ve created said fake person? It’s a bit of a chicken-and-egg challenge.
One way to do that is to start with real people. You may think of stock photography, and that is an option; if you can find 20+ pictures of a model you want to use in different outfits, you could license those photos. That said, it’s surprisingly difficult to search for a particular model on stock photography websites, especially one in different sets of clothing. (Note: this is for the model’s safety, and is probably a good thing in general). Another option is to take pictures of a friend – just make sure to get a model release form from them first! Third, and probably most ethically questionable, is finding some random person on Instagram, and using a bunch of their pictures.
With all of these methods, starting with a real person has some thorny legal problems. Using someone’s likeness does not generally fall under fair use, so there may be legal difficulties. The way I’ve seen this work best is when someone uses models’ photos to make their LoRA’s, and then blends them together into a new and unrecognizable person.
Long story short: It’s an option to start with real people, but I’d recommend you generally start from scratch. (One exception: if one of your readers wants to give their likeness to a character and is willing to pay for that privilege on a Kicsktarter or Patreon or something, go for it!). Even if you do generally use real people as a starting point, eventually you’re going to want to generate a frog person, or an alien, or someone from a racial group that doesn’t exist in real life, or whatever. For full creative freedom, we’re going to start and finish in Stable Diffusion – our consistent character is going to be 100% fictional and unique.
So, how do we get there? Start with a style.
For this exercise, I’m going to use the mother of my (very young) main character in the upcoming visual novel. I want her to be attractive enough that she generates instinctive concern / interest / care from the audience, but not have her be sexually objectified. (Note – AI models are trained on user-defined tags on images across the internet, so there’s a little bit of crowd psychology and guesswork that goes into prompting.)
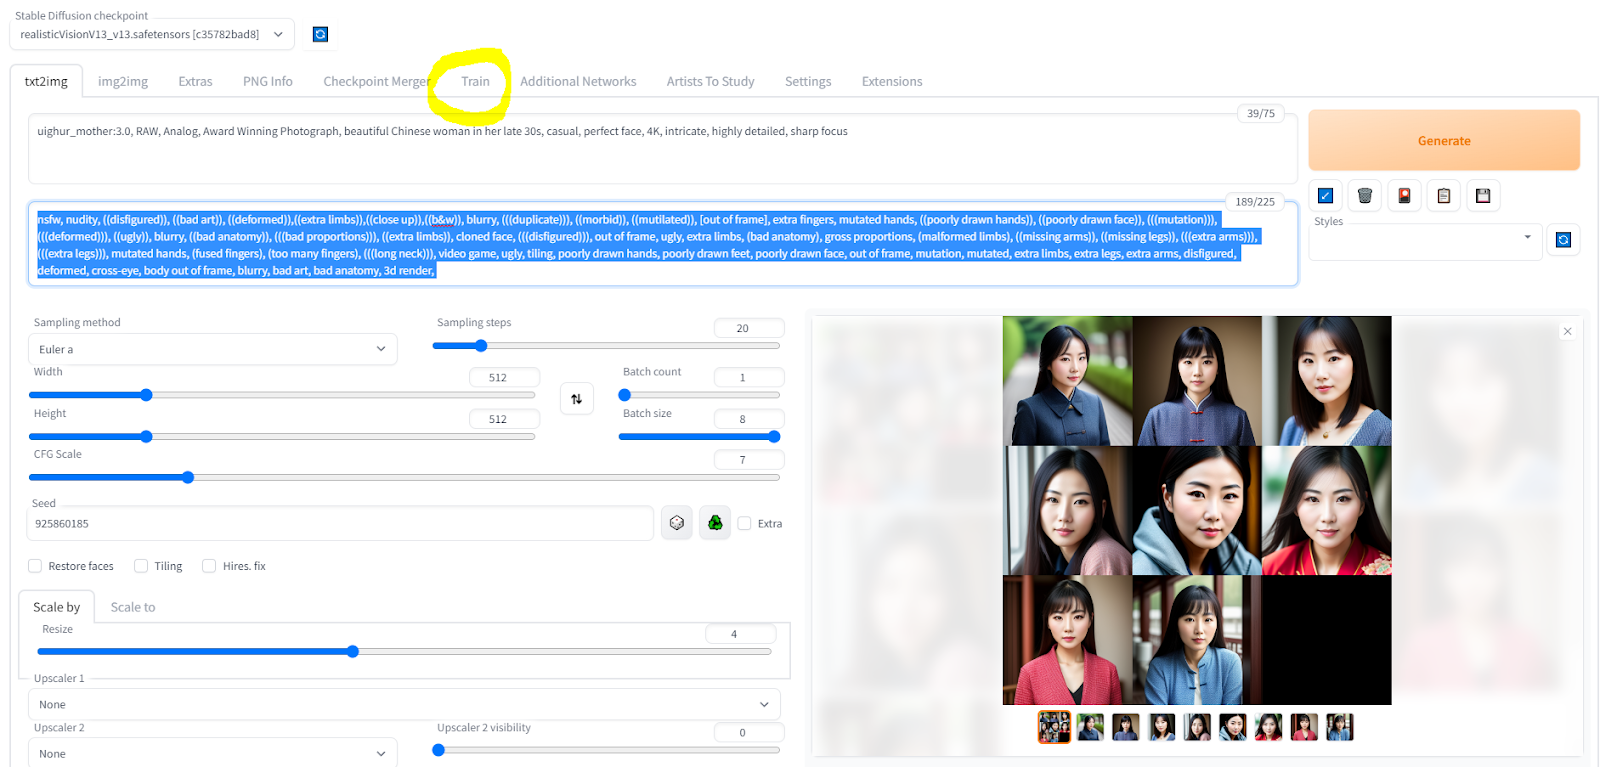
After some attempts (and looking at example prompts on CivitAI for images I thought were in the right kind of style), I landed on the following prompt using the model Realistic Vision v1.3:
Positive: RAW, Analog, Award Winning Photograph, beautiful Chinese woman in her late 30s, casual, perfect face, 4K, intricate, highly detailed, sharp focus
Negative:
nsfw, nudity, ((disfigured)), ((bad art)), ((deformed)),((extra limbs)),((close up)),((b&w)), blurry, (((duplicate))), ((morbid)), ((mutilated)), [out of frame], extra fingers, mutated hands, ((poorly drawn hands)), ((poorly drawn face)), (((mutation))), (((deformed))), ((ugly)), blurry, ((bad anatomy)), (((bad proportions))), ((extra limbs)), cloned face, (((disfigured))), out of frame, ugly, extra limbs, (bad anatomy), gross proportions, (malformed limbs), ((missing arms)), ((missing legs)), (((extra arms))), (((extra legs))), mutated hands, (fused fingers), (too many fingers), (((long neck))), video game, ugly, tiling, poorly drawn hands, poorly drawn feet, poorly drawn face, out of frame, mutation, mutated, extra limbs, extra legs, extra arms, disfigured, deformed, cross-eye, body out of frame, blurry, bad art, bad anatomy, 3d render,
I initially tried making these in the anime style that the game will eventually be in, but my co-creator and I haven’t yet nailed down exactly what we want that style to be yet. I decided to get my characters first in a photographic style – which should be the most difficult and carry the most visual data – and then adapt that to whatever visual art style we choose after the fact. YMMV; I’ll include instructions later for that kind of tweak, but if you want to start in an art style rather than a photographic one, you’ll just have one fewer set of steps. (If you decide to use a photographic style, my best luck was Realistic Vision. FTR, I’m not affiliated with them, and again, YMMV.)
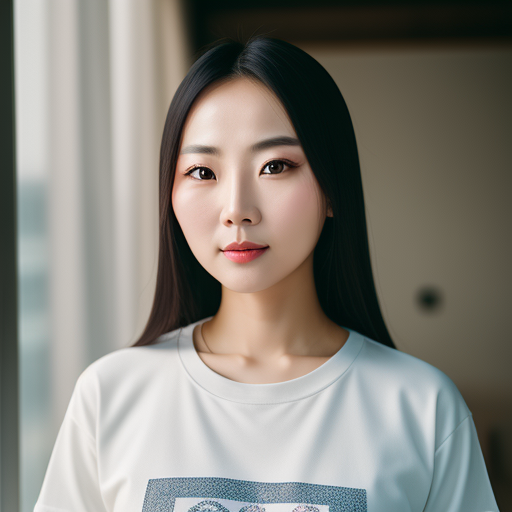
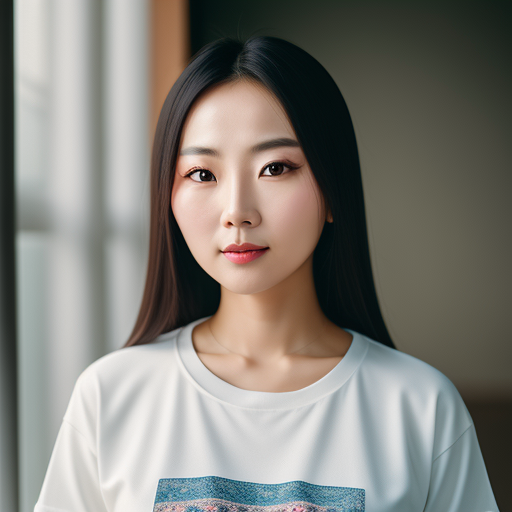
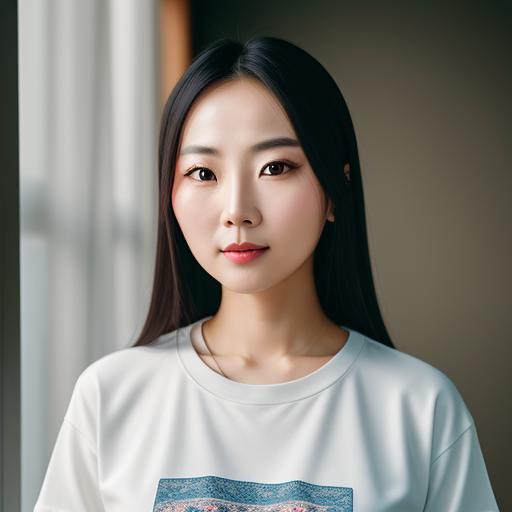
I set my generations to random and my batch size to 8, and then generated 192 images. Every couple of sets, I would vary the image prompt – instead of casual, I might add “in a t-shirt” or “in a dress” or “in a skirt and blouse” after “in her late 30s” and before the comma. Finally, on my 24th set, I found an image I really liked:
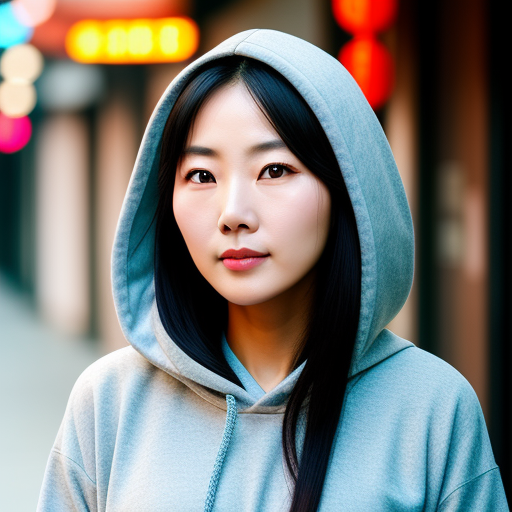
This is the central image for the character. Knowing that, I copied this image into a folder, and went to the “Train” tab in SD.
The Automatic1111 GUI gives you some limited training tools to create your own embeddings and Hypernetworks. Alas, it does NOT yet let you train LoRAs like we need to in later tutorials, but we will get there in good time.
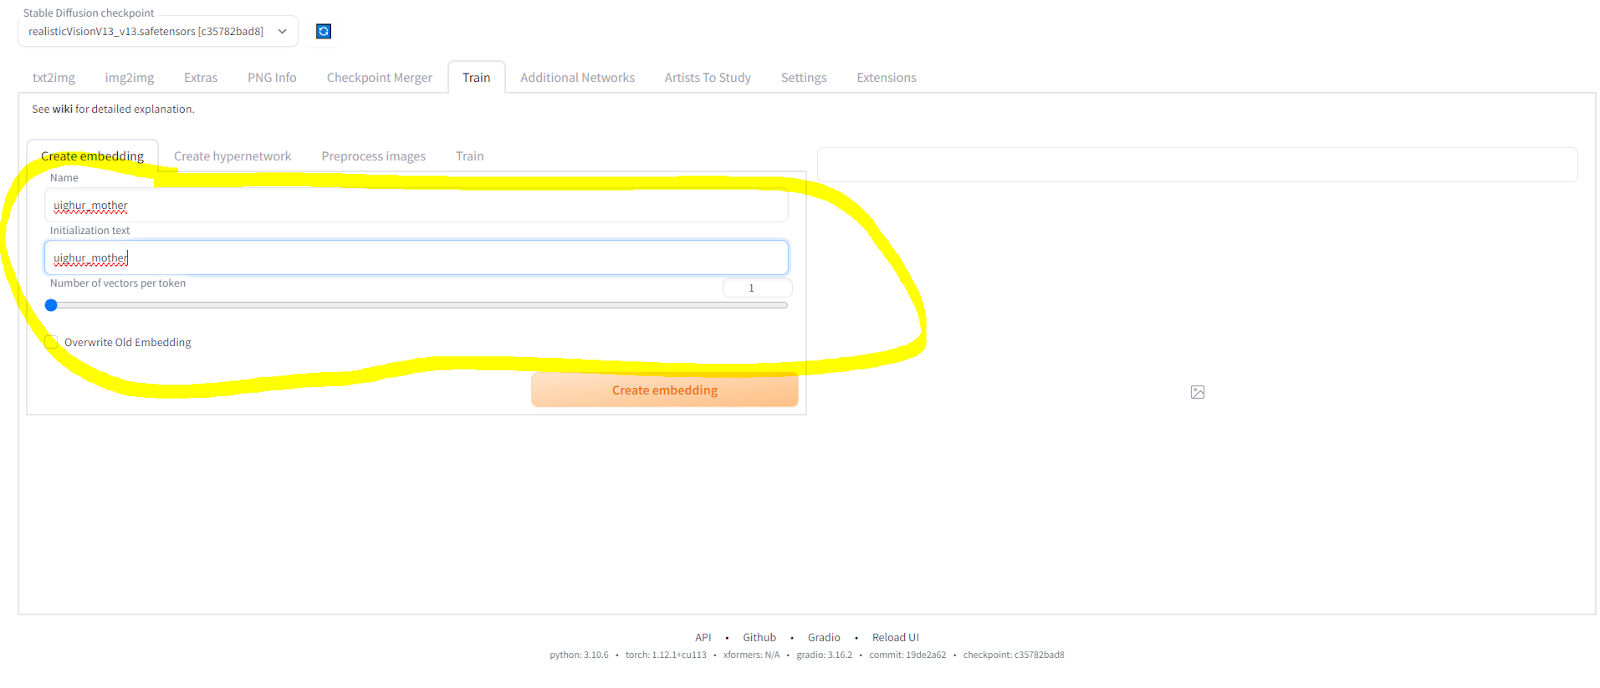
By default, you’ll land on a “Create Embedding” screen. We first need to create an “embedding”, and then after we’ll train it. An embedding is also known as a textual inversion – it’s a way to teach Stable Diffusion what a certain prompt should mean. One example I saw recently was “sitting on the edge of a skyscraper” – someone had taken a bunch of different photos of people sitting on the edge of skyscrapers, and as a result, while that embedding wouldn’t create consistent characters for them, it did let them consistently generate pictures of… people sitting on the edge of skyscrapers.
We’re going to use this to help get closer to our consistent characters.
I created an embedding “uighur_mother”. (Note: my upcoming game is a protest piece regarding the treatment of Uighurs by the government of China. I have no criticism, implied or intended, for anyone of Chinese descent generally; I have nothing but criticism for mass murder, genocide, etc. by any person or group towards any other. With that said, it shouldn’t come up again in the course of this tutorial – and you don’t have to agree with me in order to learn how to make consistent characters!)
Try to pick an embedding name that WON’T come up in general prompting. Character names are great here, as are phrases with underscores instead of spaces. You’re trying to teach SD that, when you enter a very specific phrase in your prompt, you want a very specific set of results.
You can actually name the embedding something different than the “initialization text”, which is what actually triggers the embedding, but I would recommend NOT doing so. When you have a couple hundred embeddings installed, it gets VERY difficult / impossible to remember how to activate them all without a lengthy cheat sheet.
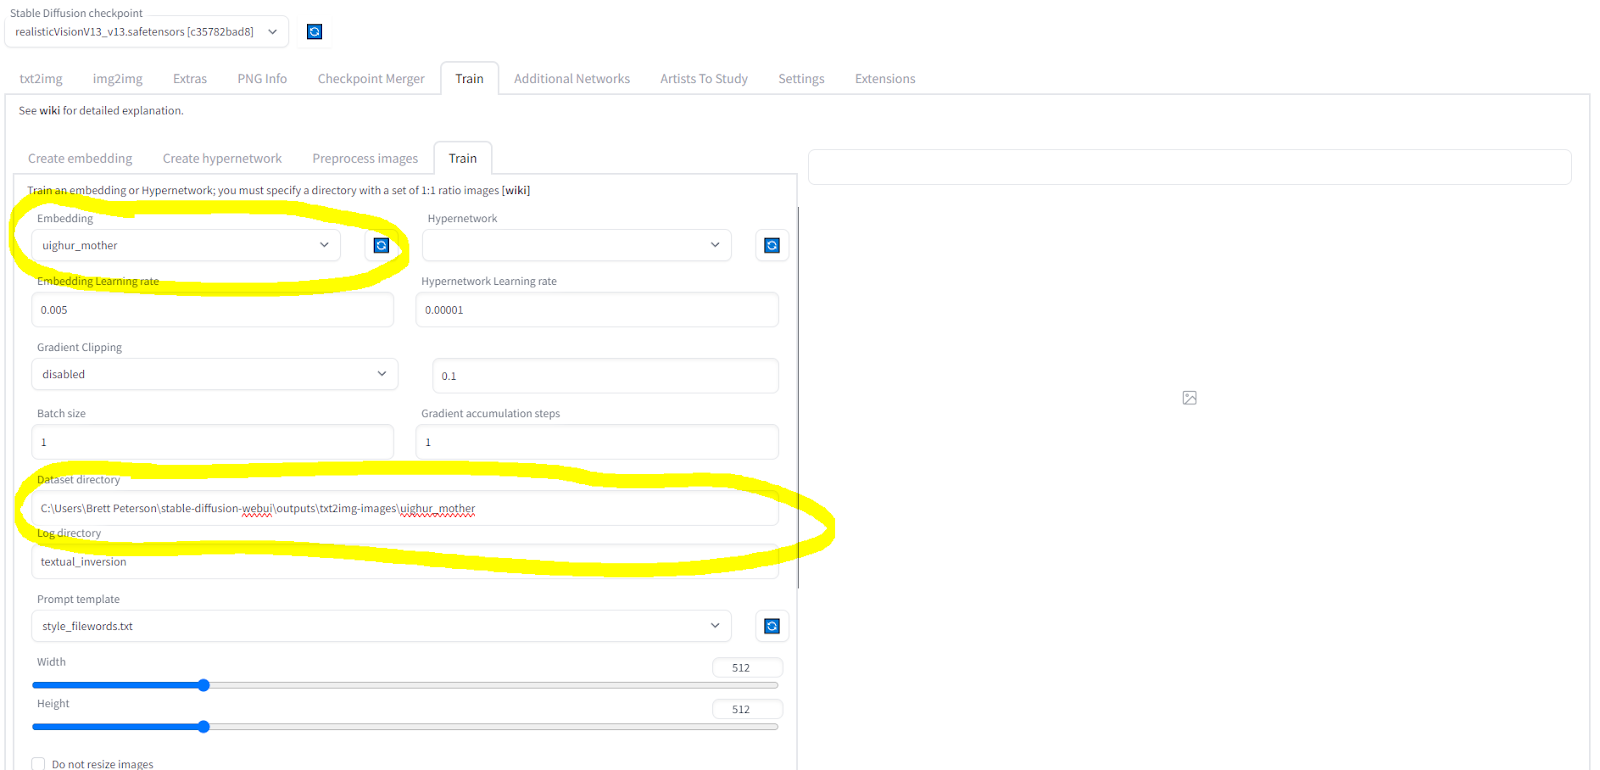
Now, go to the “Train” sub tab… on the “Train” super-tab you’re already on. 😝
Select the embedding you just created in the “embedding” drop down, and then add the filepath for the directory you stored the image in the Dataset Directory line. In Windows, to get to that filepath, open up the folder in Windows Explorer, and then highlight the top where it shows the folder name and the hierarchy of folders it’s in. Copy (Ctrl-C) and paste (Ctrl-V) that into the Dataset Directory line. Unlike most other times, in this case it’s ok that’s it’s on your machine, and not on the web!
Select “Train Embedding” in the bottom left corner, and let that finish; it may take a few minutes.
Congrats, you now have your own Textual Inversion / Embedding! This will make it easier to generate images of the character you want.
Our next goal is to get 20+ images of the “same” character. After we get that, we’ll move to make a LoRA that amalgamates them more completely and automatically, but for the moment, this is all an art, not a science.
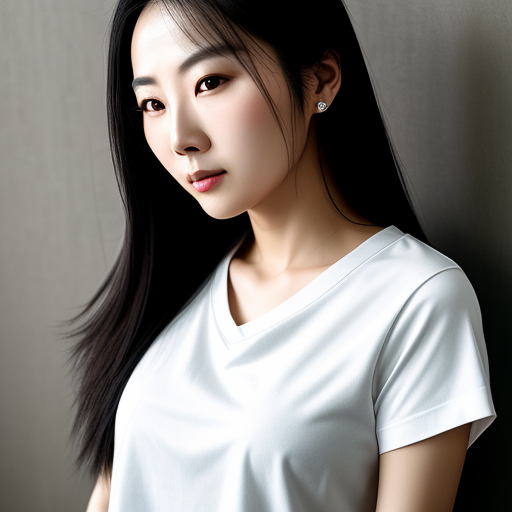
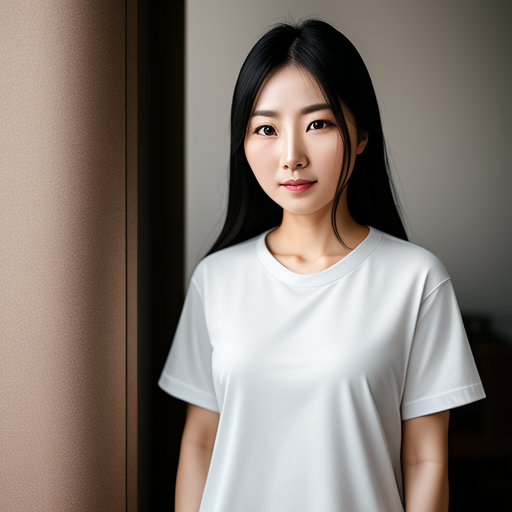
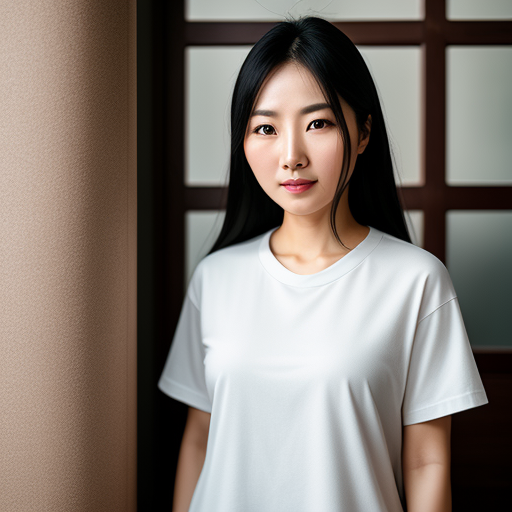
Go back to the txt2image tab at the top of the screen, and add your initialization text (hopefully the name of your embedding, if you took my advice!) to the start of your prompt. Now, re-generate a bunch of images of your character in different clothes, environments, etc. For my embedding, here are some examples of that embedding at play, with all other variables (seed, steps, etc.) held constant.

From left to right, an image with no changes, and then with an increasing degree of the uighur_mother embedding applied. (at 1.0, with three sets of parentheses around it, and at 3.0). These changes are subtle, but you can see the slightly wider mouth of the original image coming through in the final photo. It’s still not exact, and there’s a case to be made for image 3 being more true to the original in terms of face shape and jawline.
Here’s another set of examples.
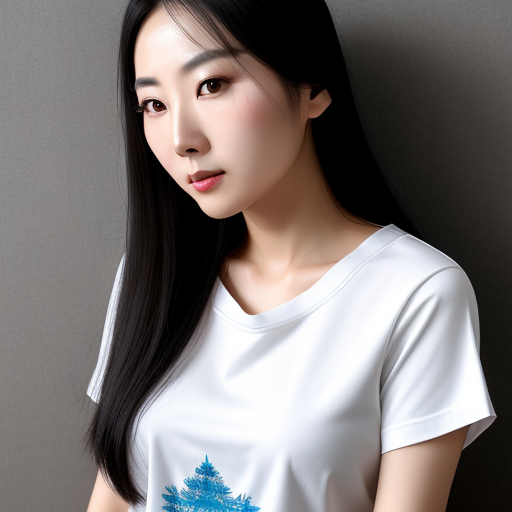
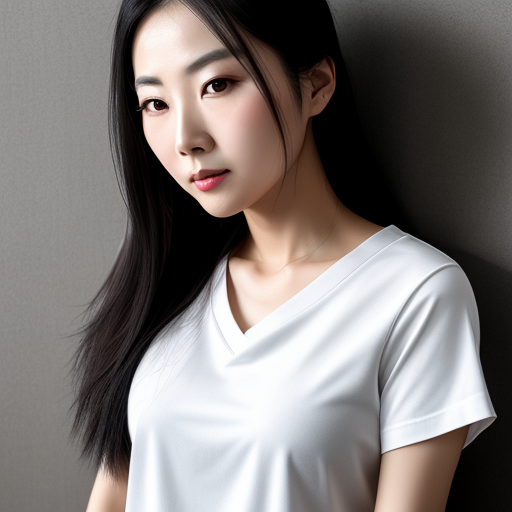
From left to right, top row: no embedding, embedding trigger only, three parentheses, embedding trigger:3.0, embedding trigger:2.0
Wow, that changed things! Not only did we lose the interesting pose from the original, we made her even thinner, to the point it starts to strain believability in proportion. Backing off a little helped, but I think the second or third image best catches the Mona Lisa smile kind of expression of the original image, as well as her high and prominent cheekbones.
As a tip, you can vary the strength of your embedding’s influence on the outcome by putting your embedding trigger word in one or more sets of parentheses, or by just putting a colon and number at the end of it – i.e. embedding:1.5. In my experience, using the numbers tends to be more powerful – but also more in your control – than the parentheses. Again, this is an art, not a science.
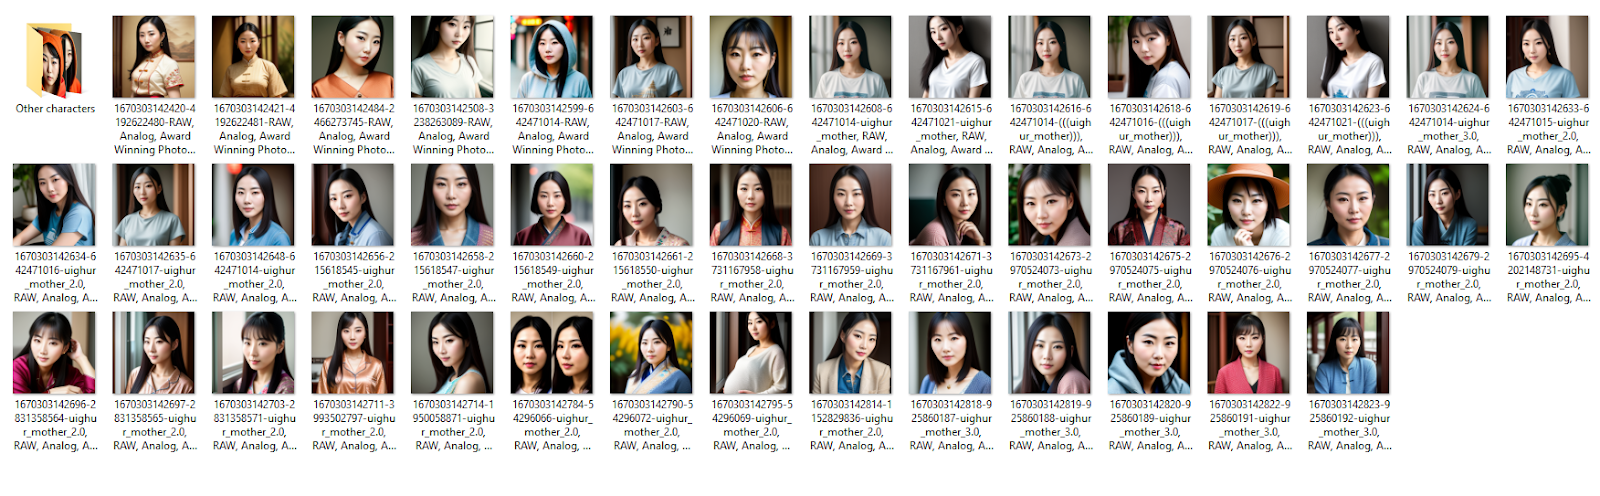
Ok, we’re in the homestretch for this section. Go and generate a LOT more images, and then comb through them for the 20-50 you feel best capture the character you’re looking for. (I ended up generating about 416 total, 192 to get the starting image, and then another 224 for the remaining 50.) You only need 20; I grabbed more than that so I could cut back down. You’re looking for a variety of poses, facial expressions, etc. – the better mix you have, the more flexible your final model will be. My mix, at the moment, is below. I may go back and see if I can’t get a wider mix of facial expressions here for some more variety, but we’ll see what happens.
Once you’ve got 20+ headshots, we’re ready for the next step – and the next tutorial!
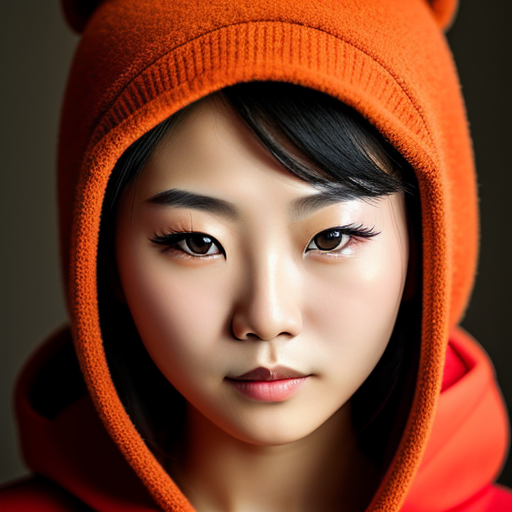
P.S – You might find some other characters you really like in this process as well. I have no idea who this spunky orange hoodie-wearing girl is, but I’m going to find a place for her in this novel!